
How to Fix External Monitor Resolution on MacOS
Show more resolution choices for external monitors on the new MacBook Pro with Retina Display by holding the Option key and clicking on the Scaled option in the Displays…
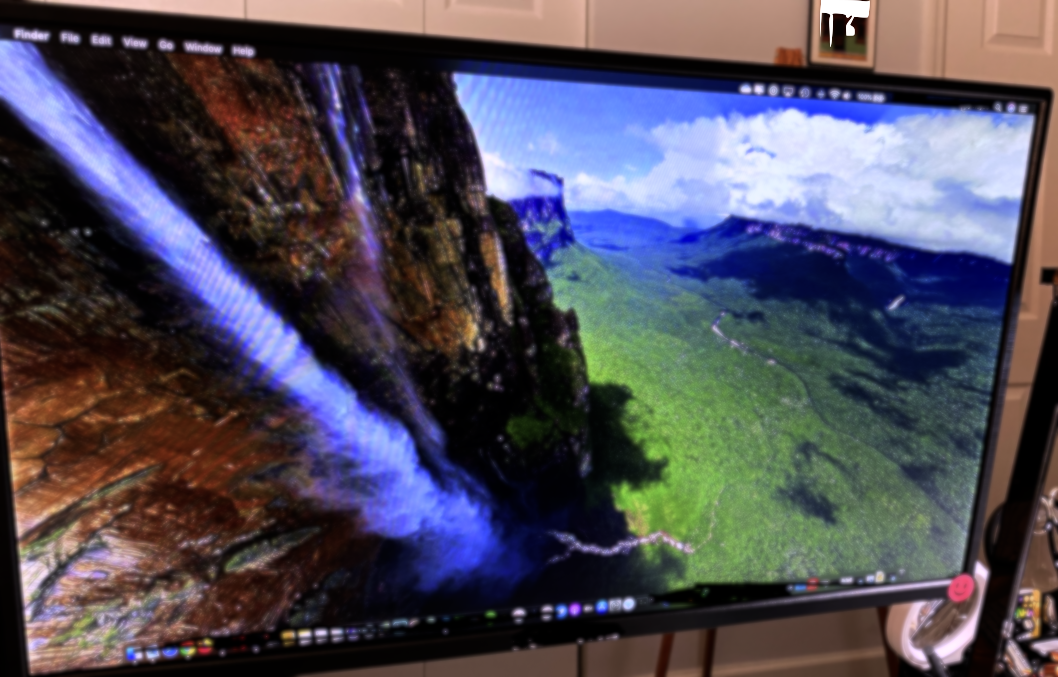
How to Show Additional Display Resolutions on macOS
Modern versions of macOS sometimes hide advanced display resolutions for external monitors, especially on newer MacBook models connected to 4K, ultrawide, or high-resolution displays.
If the available resolution options appear too limited or scaled incorrectly, you can reveal additional display modes directly from macOS.
The Quick Fix
To display additional monitor resolutions:
-
Open:
- System Settings → Displays
-
Select your external monitor.
-
Hold the:
- Option (⌥) key
-
While holding Option, click:
- Scaled
macOS will reveal additional resolution options that are normally hidden.
macOS Ventura, Sonoma, and Sequoia (2026)
On modern macOS releases, Apple redesigned the Displays interface.
Current Method
-
Open:
- System Settings
- Displays
-
Select the external display.
-
Enable:
- Show all resolutions
-
Hold:
- Option (⌥)
-
Additional low-level resolutions and refresh rates may appear.
Why macOS Hides Some Resolutions
Apple prioritizes:
- Retina scaling
- UI readability
- Recommended display modes
- GPU efficiency
Because of this, macOS may hide:
- Native ultrawide resolutions
- Lower scaling modes
- High refresh rate combinations
- Custom resolutions
Common Issues This Fix Helps Resolve
Blurry External Monitor
Can occur when macOS uses non-native scaling.
Fix
Choose the monitor’s native resolution when possible.
Missing Ultrawide Resolution
Example:
- 3440×1440 not appearing
Possible Causes
- HDMI bandwidth limitations
- Older USB-C adapters
- Incorrect refresh rate
4K Monitor Looks Too Large or Too Small
macOS often defaults to aggressive Retina scaling.
Using advanced scaled modes can improve usability.
Additional Tips for 2026 Macs
Use USB-C or DisplayPort When Possible
DisplayPort usually supports:
- Higher refresh rates
- Better ultrawide compatibility
- Better HDR support
Compared to older HDMI adapters.
Check Refresh Rate Settings
Some monitors default to 30Hz instead of 60Hz or higher.
To adjust:
-
Open:
- System Settings → Displays
-
Select:
- Refresh Rate
-
Choose:
- 60Hz, 120Hz, etc. (if supported)
Apple Silicon Considerations
Modern Apple Silicon Macs (M1, M2, M3, and newer) may have external display limitations depending on the model.
Example
Some base-model MacBooks support:
- Only one external monitor natively
Docking stations using DisplayLink may be required for multiple displays.
Advanced Tools (Optional)
If macOS still does not expose the desired resolution, third-party utilities may help.
Popular options include:
- BetterDisplay
- SwitchResX
These tools allow:
- Custom resolutions
- Virtual scaling
- Better HiDPI control
- Advanced refresh rate settings
Troubleshooting Checklist
Verify Cable Compatibility
Older HDMI cables may not support:
- 4K at 60Hz
- Ultrawide resolutions
- High refresh rates
Update macOS
Display compatibility improves regularly with macOS updates.
Power Cycle the Monitor
Sometimes monitors cache invalid EDID information.
Steps:
- Disconnect monitor power
- Wait 30 seconds
- Reconnect
Try Another Port or Adapter
Cheap USB-C adapters are a common cause of missing resolutions.
Final Thoughts
macOS often hides advanced display modes by default, but additional resolutions can usually be revealed through the built-in display settings. For modern high-resolution or ultrawide monitors, using the correct cable, refresh rate, and scaling settings can dramatically improve clarity and usability.